Anyone who’s been backpacking can tell you that the planning stage is often the hardest part. Uphills and hunger and weather and however many other challenges will inevitably crop up, but the part of the trip that happens before you even get in the car can be some of the most complicated — exactly because it’s your chance to mitigate everything that will come later. And one of the most critical and exciting parts of that process is choosing your trail.
What are you excited about?
Do you want a challenge, or are you mostly looking for some R & R? Do you want lakes or are you more stoked on the desert? Are you looking forward to being totally alone out there, or is community part of the draw? Is it super important to you to be able to have a campfire?
All of these are factors to consider in choosing a place to go, and while it’s not always worth getting bogged down in details to find your imagined haven, considering what your goals are is an important part of making your trip what you want.
Most of the time the area you’re headed to will either be what’s close to you or a spot you heard about through the grapevine. It’s worth noting that while places you find on the internet or read about in magazines may be amazing, places close to you are almost always going to be quieter and more personal. Although I’ve been a guide in Yosemite, Utah, and Spain, some of my favorite adventures have been in state parks close to my home — there’s something magical about your own backyard. And it’s worth remembering that if you’ve seen something on Instagram, most likely a lot of other people have, too.
Once you’ve chosen a general area, consider what part of that area you’re interested in
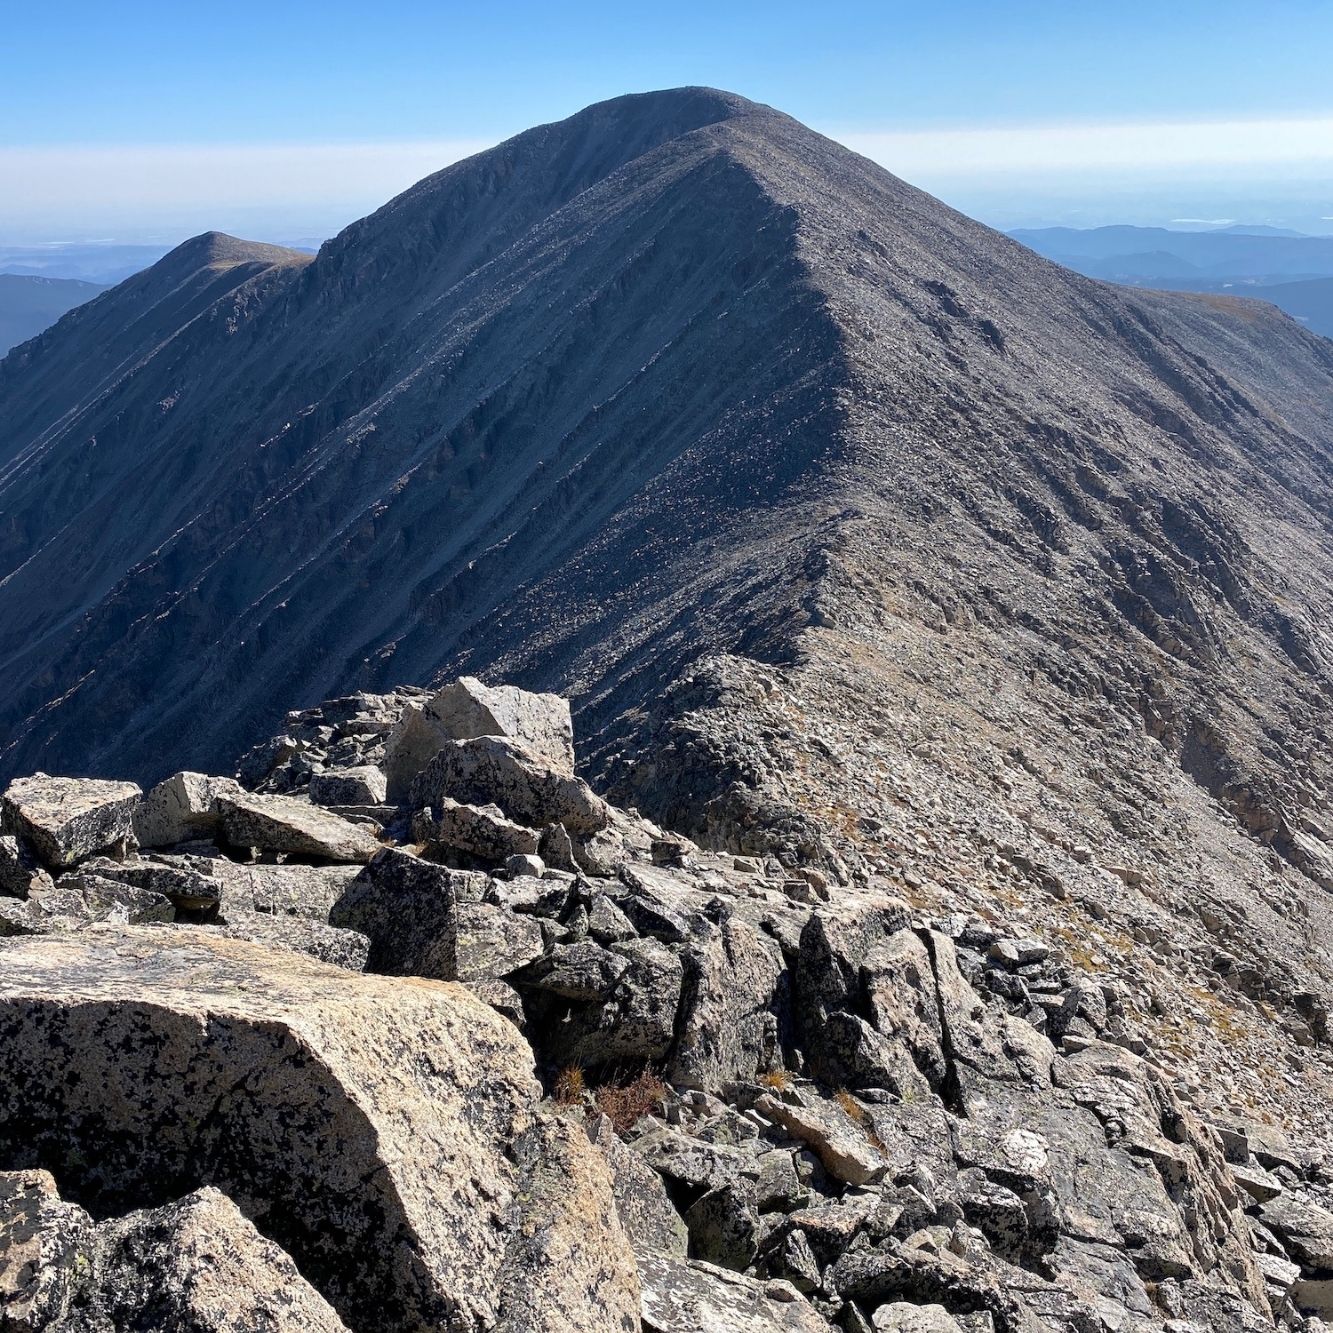
While national parks and wilderness areas can seem to fall under neat names, often they’re expansive and diverse places with a lot to explore. Yosemite, for example, has 800 miles of trail, but most people never leave the Valley floor, which means they miss out on the huge backcountry areas and quiet corners of the park. One of the amazing things about backpacking is your ability to get off the beaten track — so consider choosing some less well-traveled areas for your adventure.
Consider weather, season, and climate
If you live in the Pacific Northwest, rain may be a big consideration: if you’re in the Southwest, the heat might be a major factor. Seasonal opportunities will vary hugely from place to place, and while some rain is often manageable (if not always fun) for an experienced backpacker, heat is not only potentially uncomfortable but can be just as dangerous as the cold if you’re unprepared.
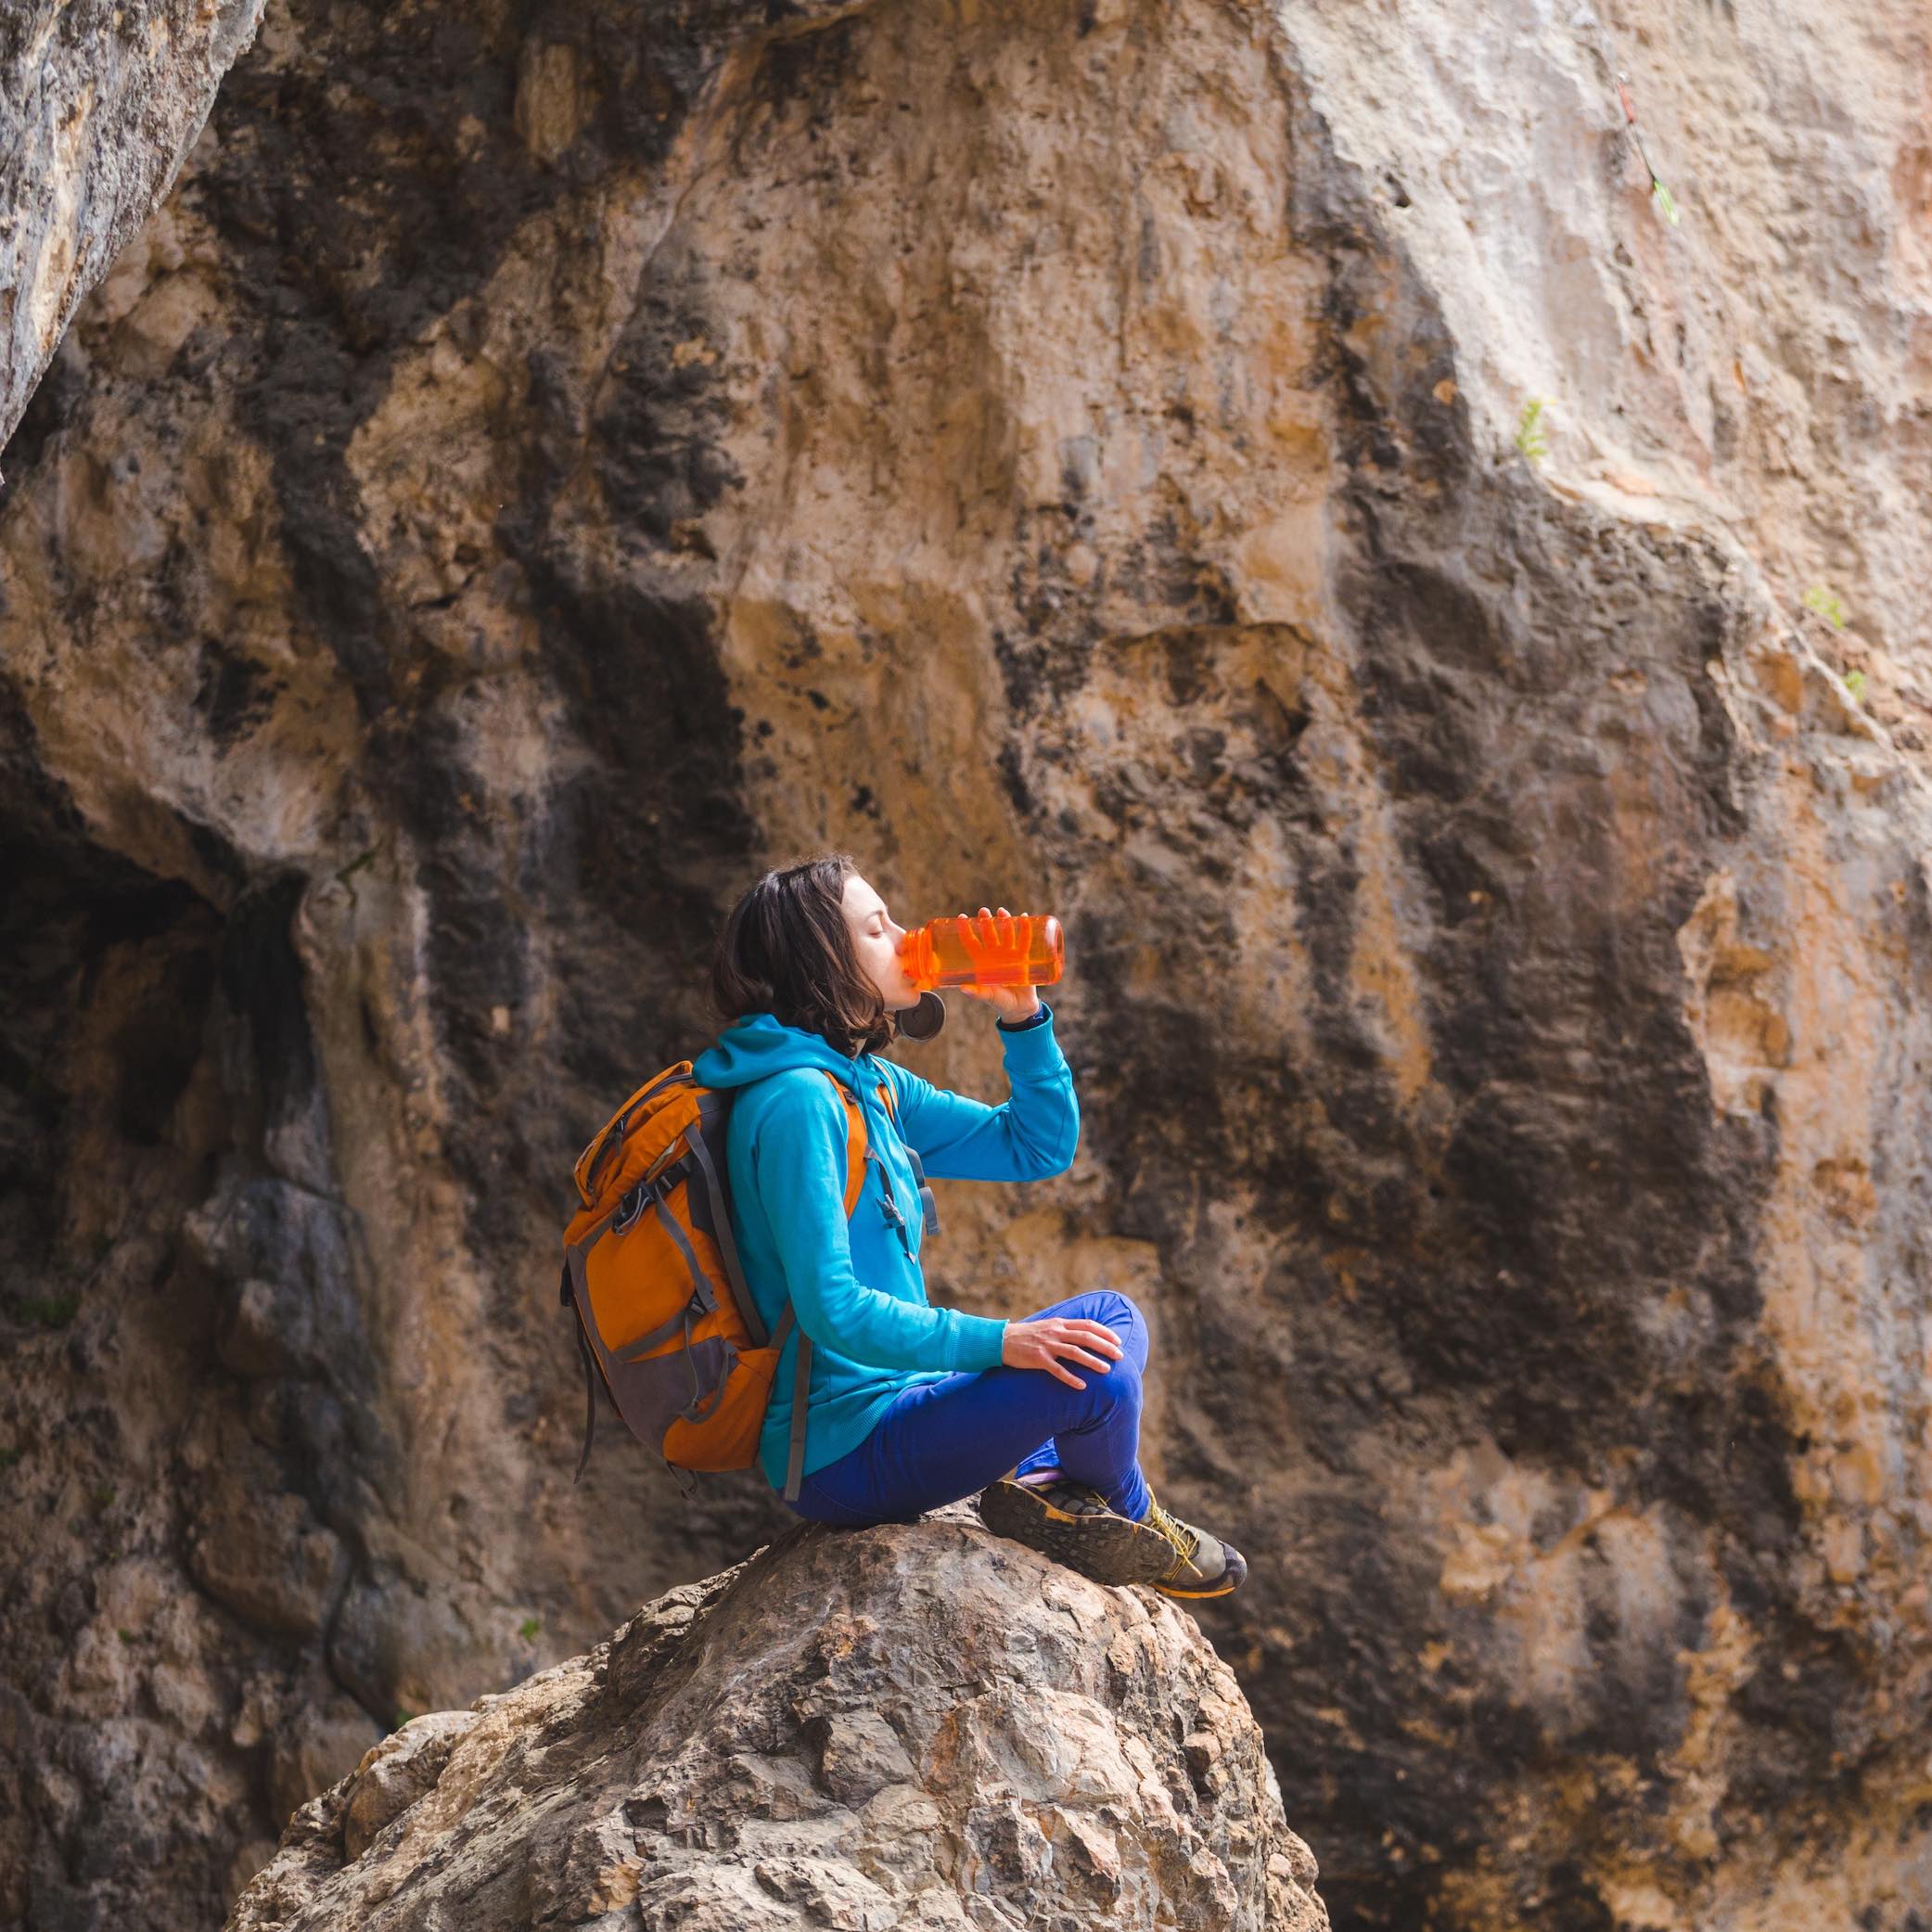
The most important part of the climate consideration, though, is probably water. Without water, humans very badly very quickly. When you’re planning your trip, make sure to note where you expect there to be water sources and be aware that some smaller sources may dry up seasonally. Camping next to water is a must for me, and I recommend making it a must on your trips as well, both for convenience and safety.
Make sure you’re choosing an appropriate distance
New backpackers are often shocked by how much a pack changes what you can — or want to — take on. While a 7-mile hike may be no big deal to you, doing 7 miles with 50 pounds on your back is a very different deal. As a competitive person, I totally get the impulse to go big on your first trip, but the reality is that backpacking’s as much about slowing down as it is about making miles.
I recommend starting with 3 to 6 or 7 miles a day on your first trip.
Rather than arbitrarily choosing an arbitrary mileage number, though, it’s worth trying to figure out how long you’ll be hiking. It’s reasonable to calculate that you’ll probably walk about 1 to 3 miles an hour on your trips, and you’ll probably be grateful to be walking less than 7 hours a day to start. Your speed will fluctuate a lot with what kind of trail you’re on, and whether you’re gaining or losing a significant amount of elevation (a useful rule of thumb: for every 1,000 feet of elevation gained or lost, add 30 minutes).
Make choices about whether to hike an out-and-back, a loop, through hike, or base camp
When outlining your route, you’ll have to decide if you’re going to loop around to return to the place you started (loop hike), hike from point A to point B (through hike), or hike to a nice spot, set up camp, and do day hikes from there. All three are valid, fun choices.
Through hiking is often the most logistically complicated, as it requires either setting up a pick-up, a drop-off, or a shuttle at one end of your trip. The upside, though, is that you get to see a larger area in a shorter time, and you can often transect amazing swaths of the backcountry.
On the other end of the spectrum, out-and-back hikes are arguably the most straightforward, as you leave and return to the same place, and double back on the trail you’re already familiar with. While doubling back sometimes as a reputation for being less exciting, many of the most exciting hikes out there (summits, for example) are out-and-backs.
Loop hiking is my personal favorite, as it’s simple and straightforward. You get the freedom and simplicity of dropping your car without worrying about the other end, and (if you plan your route right) you don’t have to double back on the trail you’ve already traveled.
Basecamping is an often-neglected option in the backpacking world. While carrying everything you need on your back is an amazing idea, it’s also heavy. Putting all that stuff down (maybe by a nice lake?) and exploring remote areas with just a day pack is an awesome option.
Ultimately, the best trips mix and match these styles of hiking. Keeping all your options in mind is a great way to set up the trip that best suits you.
Navigate Permitting
The last (and often least fun) part of the planning stage is figuring out permits. Permitting backpacking areas is complicated and important, as it protects wild areas from overuse and abuse. Permitting strategies vary from area to area: on BLM land (land managed by the Bureau of Land Management), permits aren’t required. However in popular parks, permits are not only mandatory, they’re often in high demand. Getting permits for especially popular trails can be a waiting game that starts 6 months before your trip, so don’t put it off too long.
Once you have a permit, there are a whole bunch of different ways they function in different parks. In Yosemite, a wilderness permit dictates which trailhead you can use to start your trip, but once you’re in the park, you can go wherever you want. In Yellowstone and other national parks, however, permits will dictate where you’re allowed to camp each night.
Reading up and preparing is a critical part of making sure you’re prepared for your trip — not only so you don’t get ticketed, but so you can protect the land you’re traveling on.
Get out there!
While this may all seem like a lot of information, the bottom line is, just get out there! Don’t be daunted, just do your research, call your rangers, and ask your friends — and keep checking in with HikingDaily for answers to all your hiking questions.
For more information on how to plan for a backpacking trip, check out my article on how to plan food for a backpacking trip.